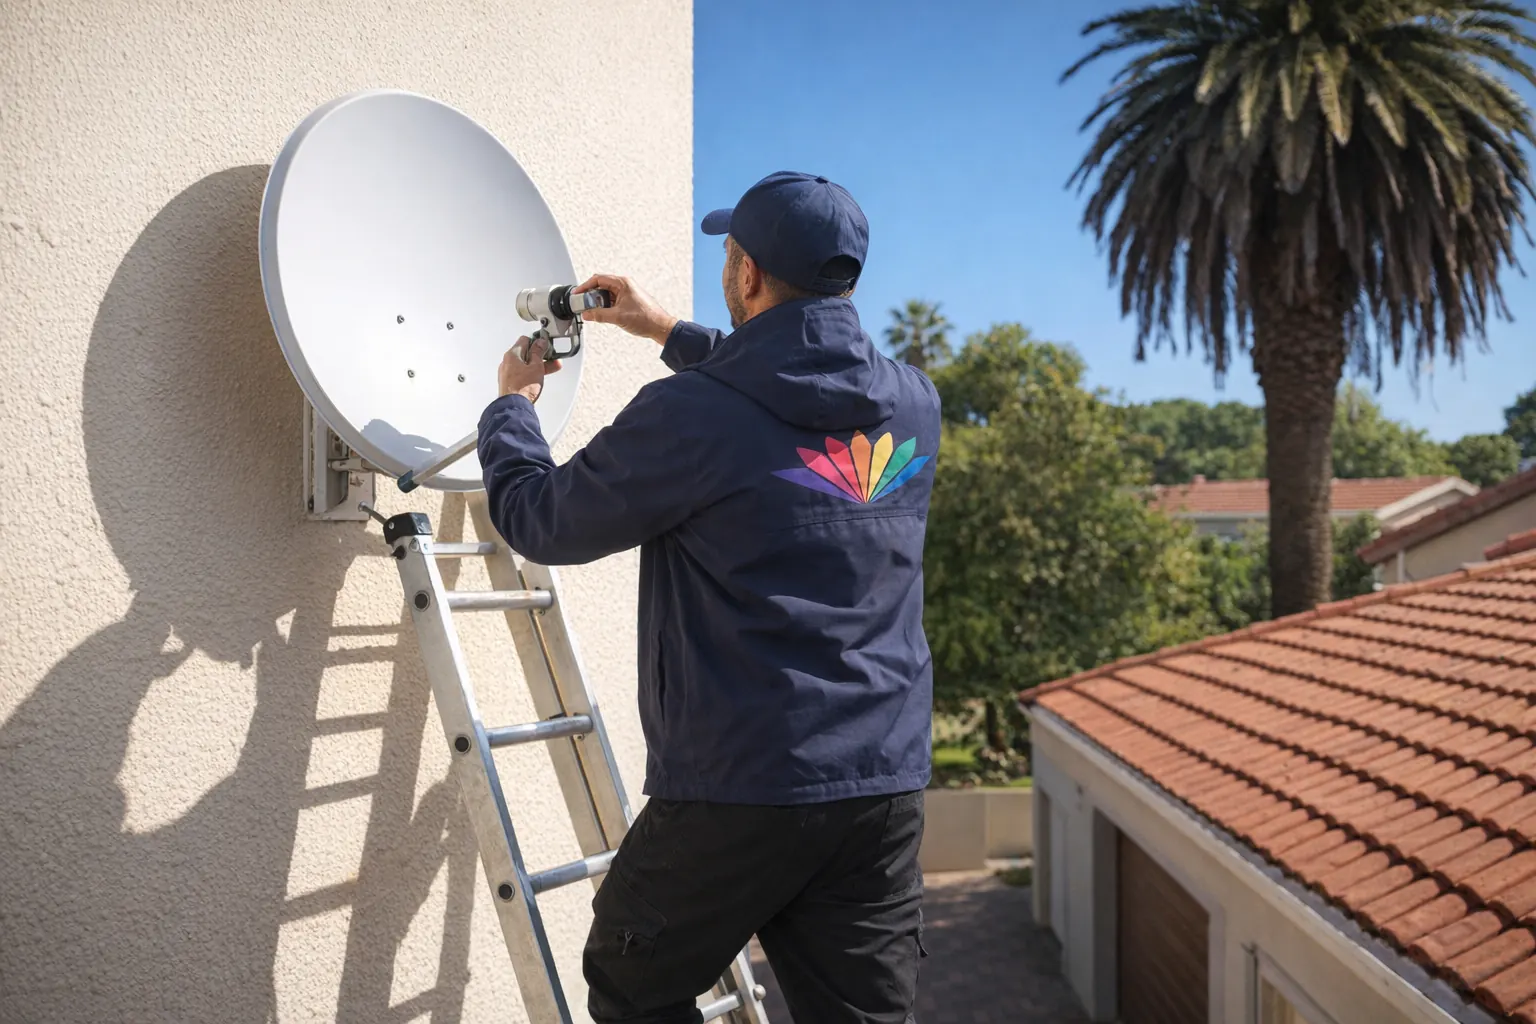
Checking DStv signal strength is the first thing I do on any “no picture” or pixelating call-out, and you can do it yourself in under a minute. The reading lives in your decoder’s settings menu, and there’s also a way to find DStv signal using your phone before the dish is even cabled in. In this guide I’ll show you exactly where the signal screen is on each decoder, how to read signal strength versus signal quality, and what to do when the numbers come up short.
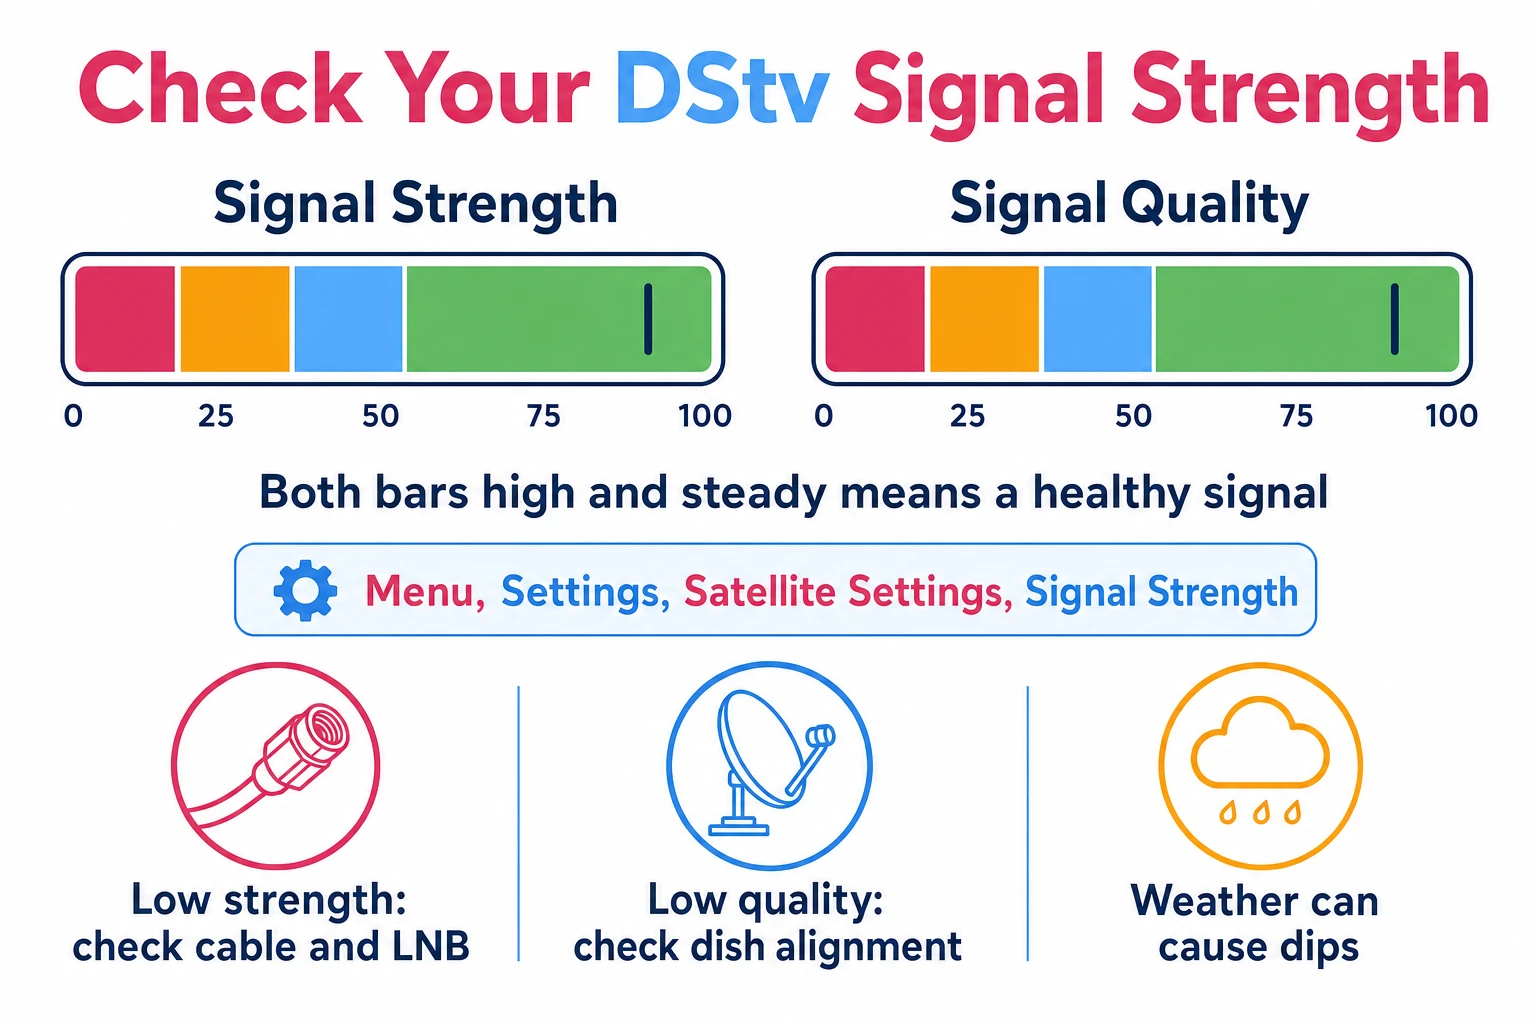
- The signal screen lives under Menu → Settings → Satellite Settings → Signal Strength on most DStv decoders (the Explora uses System Settings).
- Watch two readings: signal strength (how much power reaches the decoder) and signal quality (how clean that signal is). Both matter.
- A signal finder app turns your phone into a satellite finder, so you can aim the dish before the decoder is even connected.
- Weather, trees, a knocked dish and a perished cable are the usual reasons a reading drops — check those before booking a call-out.

What DStv signal strength actually means
Signal strength is the level of satellite signal your decoder is receiving off the dish. It’s measured in decibels (dB) and shown on a scale from 0 to 100 — the higher the number, the more headroom you have. When that level drops, the picture is the first thing to suffer: you’ll see pixelation, freeze-frames, dropped sound, or the dreaded “No Signal” message.
Strength on its own only tells half the story, though. A decoder can show plenty of strength but still glitch if the signal is noisy or pointed at the wrong satellite. That’s why every DStv signal screen shows two bars side by side — and why you read both. A weak or no-signal reading usually points at the hardware (dish, LNB or cable); a poor-quality reading usually points at alignment, an obstruction or weather.
| Reading | What it measures | If it’s low, suspect… |
|---|---|---|
| Signal strength | How much power reaches the decoder | Cable, LNB or connection fault |
| Signal quality | How clean the signal is (vs interference) | Dish alignment, obstruction or weather |
Think of strength as how loud the signal is and quality as how clear it is. You want both bars sitting high — a loud but noisy signal still gives you a stuttering picture, and a clean but faint one drops out the moment a cloud rolls over.
How to check your DStv signal settings on the decoder
Switch on the TV and decoder, make sure they’re connected properly, and grab the remote. The signal screen is only a few clicks away. On most DStv decoders the path is:
- Press the Menu button on your remote.
- Use the arrow keys to navigate to Settings.
- Select Satellite Settings from the list.
- Choose Signal Strength and press OK.
You’ll land on a screen with two bar graphs — signal quality and signal strength. Watch them both. If you’re on an Explora, the menu is laid out slightly differently: press the DStv button, go to Settings, select System Settings, then Signal Strength, and follow the on-screen instructions for the signal test. Either way, you’re looking at the same two numbers.
If you’re nudging the dish, leave this screen up and have a helper call out the numbers from the lounge. You want to peak both bars, not just get them “good enough” — that extra headroom is what keeps the picture solid through wind and light rain.
How to find DStv signal using your phone
This video is in HINDI only. For English speakers, please mute it, switch on YouTube captions (CC), and set auto-translate to English in the settings (the small gear icon).
Before the decoder is even cabled in, your phone can tell you where to aim the dish. A signal finder app reads your phone’s compass, GPS and tilt sensors and shows the exact direction and angle for the DStv satellite — many include an augmented-reality view that overlays the satellite’s position on your camera. It’s the same trick I use for a quick re-align, and it costs nothing. If you want the full step-by-step on aiming with your handset, our DStv signal finder app guide walks through the azimuth, elevation and skew settings for South Africa.
What the phone won’t do is read the live signal coming down the cable — for that you still use the decoder screen above. So the workflow is simple: aim the dish with the app, then confirm the lock on the decoder. The two together cover the whole job without a R2,000 meter.
Why you check both quality and strength
Signal quality measures how strong the received signal is against potential interference, while signal strength measures how much power is in that signal. Reading both is what tells you where a fault actually sits. If quality is poor, suspect an obstruction, dish misalignment, a cable issue or weather interfering with reception. If strength is weak or absent, the problem is more likely the hardware — the LNB, the cable, or the dish itself. Checking both saves you from, say, re-aligning a dish when the real culprit was a perished cable all along.
How to scan the signal with your remote step by step
Want the short version you can do from the couch? Here’s the full scan in order — it takes well under a minute once you know the path:
- Power up. Turn on the TV and decoder and confirm the cables are seated.
- Open the menu. Press Menu (or DStv on an Explora) on the remote.
- Go to settings. Arrow across to Settings, then Satellite Settings (or System Settings on Explora).
- Open signal strength. Select Signal Strength and press OK.
- Read both bars. Note the signal-quality and signal-strength readings, and watch whether they hold steady or flicker.
If both bars sit high and steady, your connection is healthy and you can stop here. If either one is low or jumping around, work through the troubleshooting below before you reach for the phone.
Troubleshooting a low or poor DStv signal
Sometimes, despite everything, the reading comes up short. It happens for the usual reasons — bad weather, an obstruction like a tree or new wall, a knock to the dish, or equipment that’s past its best. Before you call anyone, there are a few checks worth doing yourself.
Start with the connections between the decoder and the dish. Make sure every cable is screwed in firmly and isn’t cracked, kinked or perished — a damaged LNB cable kills the signal even when the dish is aimed perfectly. Next, check the dish itself hasn’t been nudged out of alignment by wind or a stray cricket ball. A dish that’s shifted even slightly off the satellite will read low on quality.
If the cables are sound and the dish is steady but the numbers are still poor, the issue is usually alignment or an obstruction in the line of sight to the satellite. That’s the point where a signal finder app earns its keep — or where it’s worth handing the job over, especially if the dish is up on a roof.
Never work on a wet, steep or double-storey roof on your own. Use a stable ladder footed by a second person, stay well clear of overhead power lines, and don’t lean out to reach the dish — move the ladder instead. If you can’t stand safely next to the dish, that’s the job to hand to an accredited installer rather than risk a fall.
When a bigger dish or a booster helps
If alignment and cabling are spot on but you’re still scraping by — especially in an area with marginal coverage — a couple of hardware upgrades can lift the reading.
A larger dish captures more signal off the satellite, which gives you more headroom in rain. Before buying one, check with your service provider what dish size suits your location and package — or have it fitted as part of a proper satellite dish installation. A booster amplifier can lift a weak signal too, but it’s a double-edged tool: fitted or set up wrong, an amplifier amplifies noise along with the signal and actually makes the picture worse. I’d always have one specced by someone who knows the gain figures for your run.
Neither of these is a DIY job if you’re unsure — attempting advanced fixes without the right knowledge or equipment usually causes more damage than it cures. When the basic checks don’t bring the reading back, it’s quicker and cheaper to book a DStv installer who can diagnose it properly and leave the work under warranty — our DStv installation in Soweto covers exactly this kind of call-out.
Keep an eye on it
A quick signal check now and then is the cheapest insurance against a black screen on game night. Even a small drop in strength can cause the picture to stutter, and catching it early — before a storm turns a borderline reading into a total dropout — means you fix a five-minute problem instead of a missed match. If you’ve aligned the dish, checked the cables and the numbers still won’t hold, that’s the signal to call in a professional rather than keep wrestling it.
Frequently Asked Questions
How do I do a signal test on my DStv Explora?
On your DStv Explora, press the DStv button on the remote, go to Settings, select System Settings, then Signal Strength. Follow the on-screen instructions for the signal test and read both the strength and quality bars.
Why is my DStv showing no signal?
A “no signal” message usually means the dish has shifted, a cable has come loose or perished, the LNB has failed, or weather is blocking reception. Check the connections and dish alignment first; if the picture still won’t return, it’s time for a professional look.
Where is the satellite position for DStv?
DStv in South Africa points at Intelsat 20 (IS20) at 68.5° East, which is roughly north-east across the country. The exact angle depends on your town — a signal finder app or installer will give you the precise figures for your address.
How do I know if my DStv LNB is faulty?
Suspect the LNB if you see physical damage or corrosion, or if signal strength stays at zero despite the dish being correctly aimed and the cable being sound. Replacing the LNB is often the fix — check the connecting cable at the same time.
How do I check my satellite signal strength?
Open your decoder’s settings menu, navigate to Satellite Settings, and select Signal Strength. You’ll see two bars — signal quality and signal strength — and you want both sitting high and steady for a reliable picture.
Why is my satellite dish not getting a signal?
The common causes are an obstruction (tree or new wall), a dish knocked out of alignment, bad weather, a faulty LNB, or a damaged cable. Re-align the dish first, then check the cable run before replacing any equipment.
Further reading
Need Professional DSTV Installation?
Our accredited installers offer same-day service across South Africa.